A dining table that rocks after you move it across the room may need one foot adjusted. A table that still shifts when every foot is firmly down calls for a closer look at the legs and their connections. Before ordering threaded leveling feet, find out which problem you have and check what actually screws into the leg. Take one intact foot to the hardware store if the table maker cannot identify the part.
In this guide
Find out what makes the table rock
Clear the top and check the table on a hard floor in the spot where it normally sits. Press gently near each corner in turn. Look for a foot that lifts as you press the opposite corner. If you can safely move the table with help, try it on a different patch of floor. If the rocking changes with position, the floor may account for some of it. Look for a missing pad as well. One bare foot can sit lower than the three that still have pads.
Next, watch where each leg joins the base while someone gently presses on the top. If a leg moves at its joint, or the socket that holds the threaded foot turns in the leg, check the table maker’s repair or parts instructions. Lengthening the foot will leave that movement in place. A cracked leg or a damaged connection needs attention before the table goes back into use. If all four legs are sound and the problem is simply a small gap at one foot, check whether the existing foot has enough adjustment before buying anything.
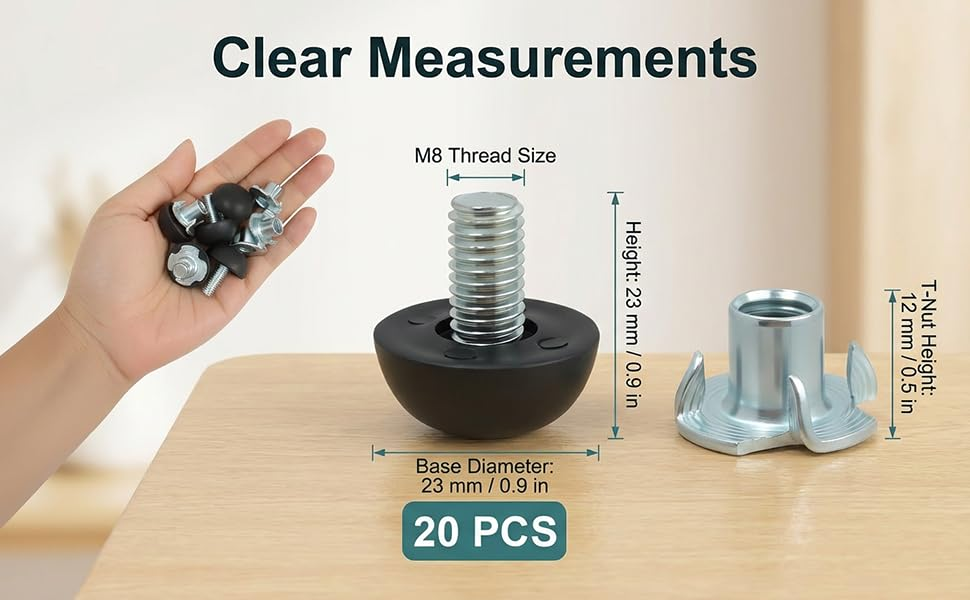
Match the stem and the threaded socket
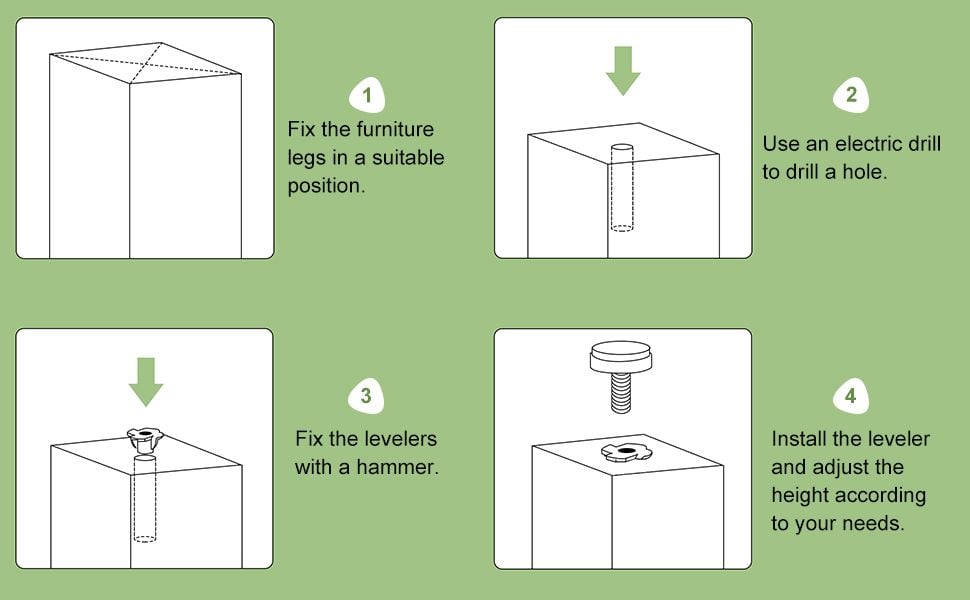
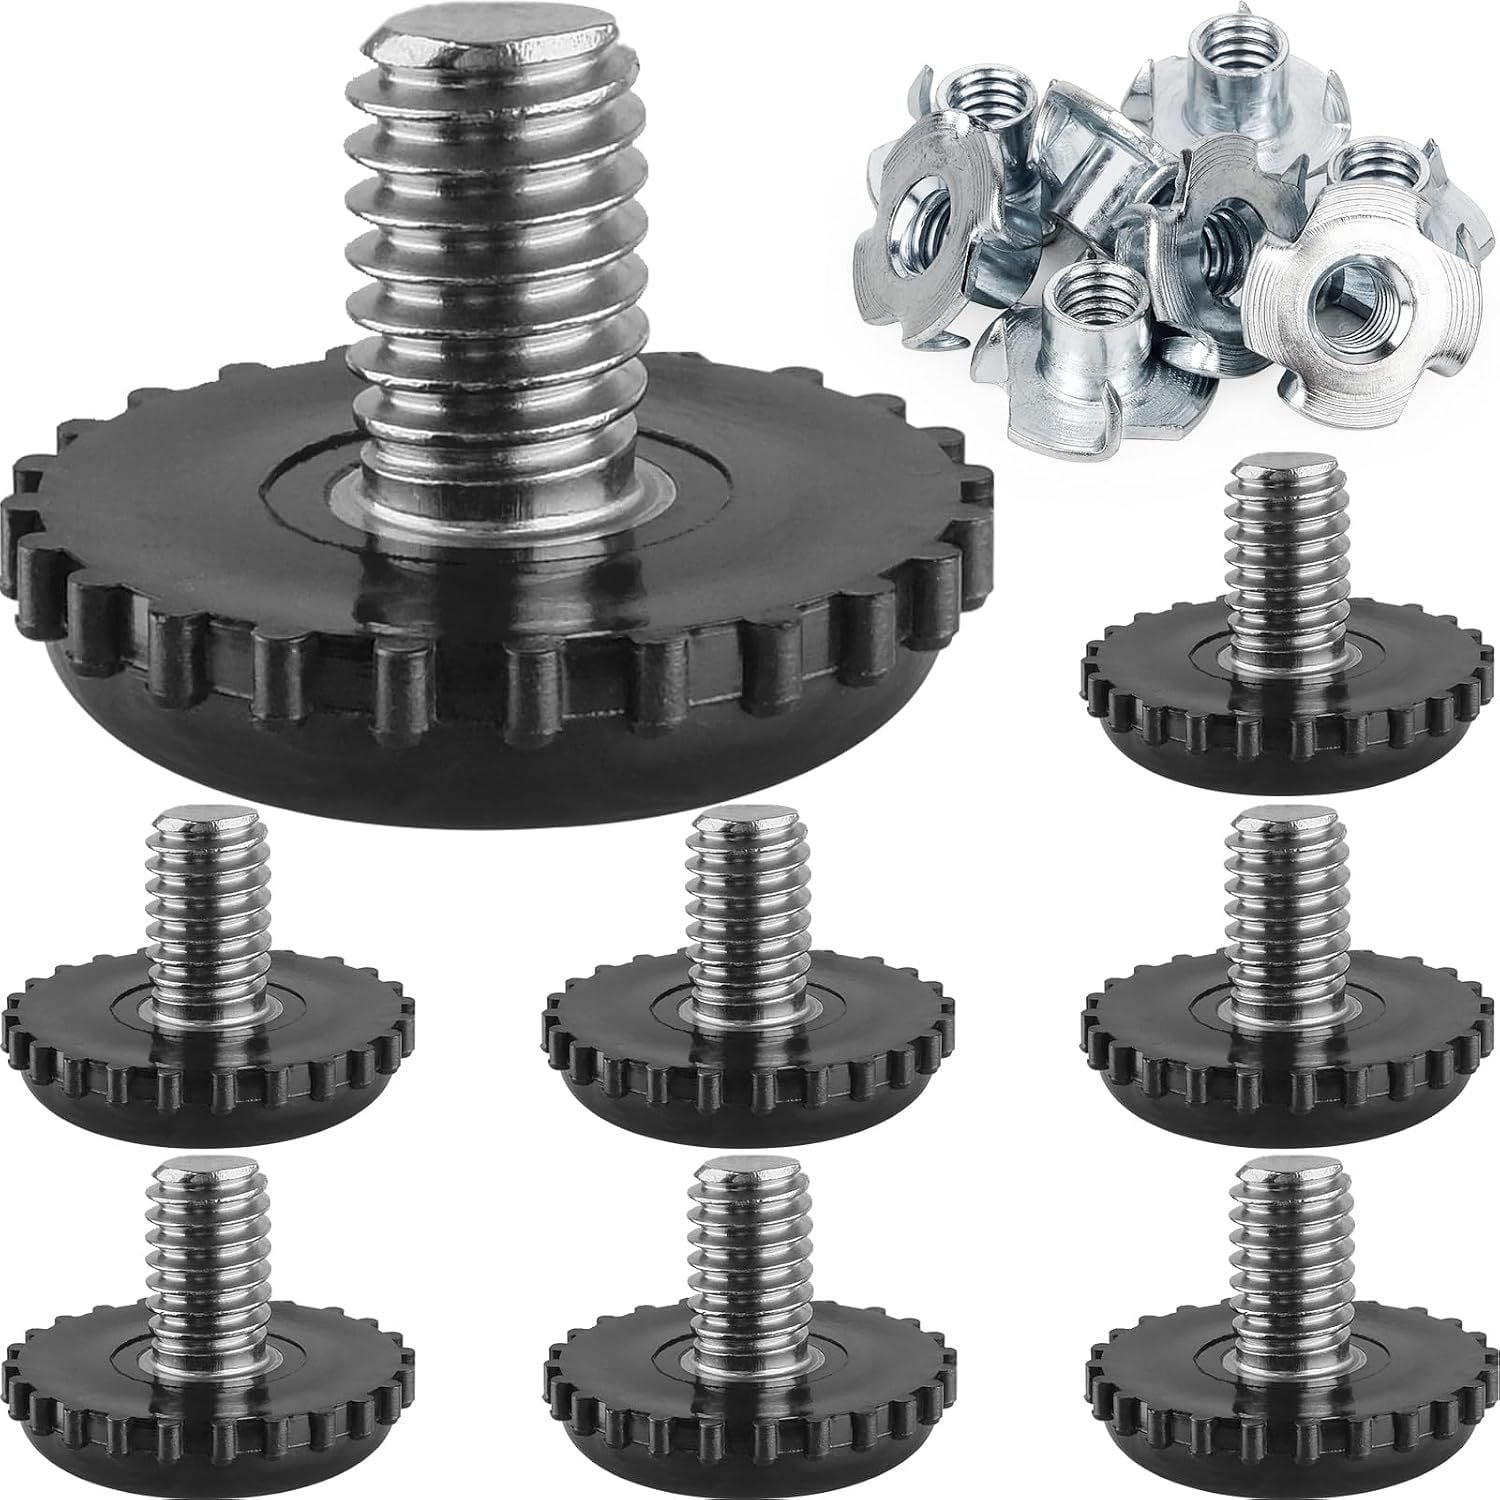
With the table empty and safely supported, unscrew one intact leveler by hand. Keep its washer or lock nut with it, if present. Photograph the inside of the leg and note whether the old foot screws into a threaded socket, snaps into a hole, or attaches with a plate. This guide applies to a screw-in foot and an intact socket. If yours has a smooth stem or a plate, look for the same mount in the parts diagram.
Take three measurements from the removed foot. Measure the outside diameter across the threads, check the pitch with a thread gauge or a matching nut, and measure the stem from its tip to the point where it meets the foot. A store’s thread checker is helpful if you have only a ruler. The stem should turn easily by hand in a verified matching checker. If it binds after a turn, back it out and try the proper size with a gauge. A near match is a poor way to test a socket you still need.
US listings can use inch or metric threads. In a listing that says 1/4-20, the first number is the nominal diameter in inches and 20 is the threads per inch. Treat that as a description of the part you are looking at. For example, the Rockler PronToe product listing specifies a 1/4-20 mount and gives the usable adjustment range separately. Record both specifications when comparing parts. If what you removed has a wheel, use the measurements in this guide to replacement furniture casters, since the wheel and stem together determine the finished height.
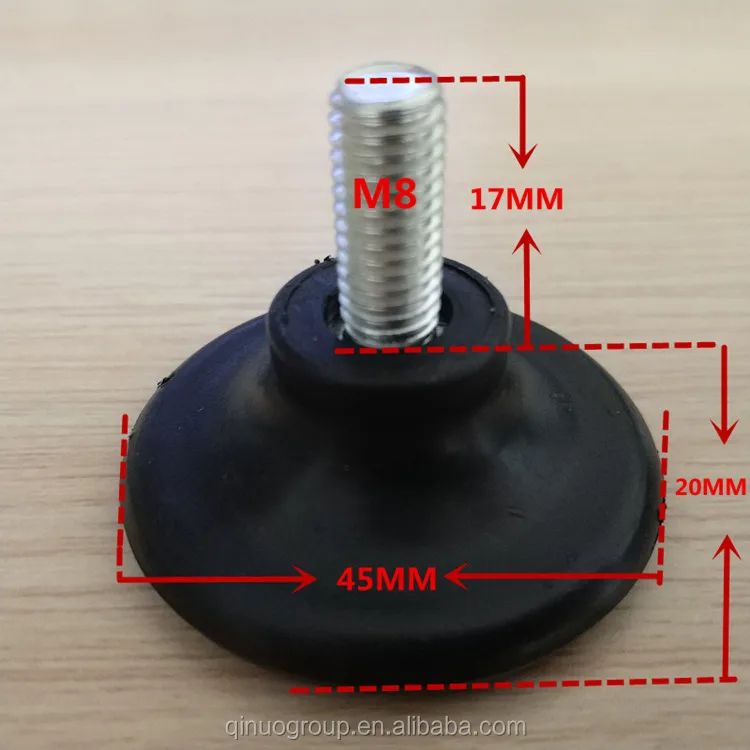
Check the adjustment range and the part that touches the floor
Measure the gap with the table in its usual position. Slip thin pieces of card under the floating foot until it makes contact, without lifting the other legs. Remove the stack and measure its thickness away from the table. If the stack is about 1/8 inch thick, for example, you need about that much additional height at the floating foot from its current setting. Check the product’s usable adjustment range and thread engagement instructions. The full length of the exposed stem tells you little about how far you can safely extend it. A longer stem can also bottom out in a shallow socket before the foot reaches its lowest setting.
Compare the pad diameter with the space at the bottom of the leg and check that the pad contacts the floor flat. A fixed pad can land on its edge under a splayed leg. Rockler’s swivel leveler listing identifies angled legs as a use for that design. The same thread can be offered with different pad shapes and materials. Check the manufacturer’s intended floor surface and load rating, and look for a loose or damaged pad whenever you inspect a foot. If you replace just one foot, compare its collapsed height with the other three before ordering. A taller pad can introduce a wobble of its own.
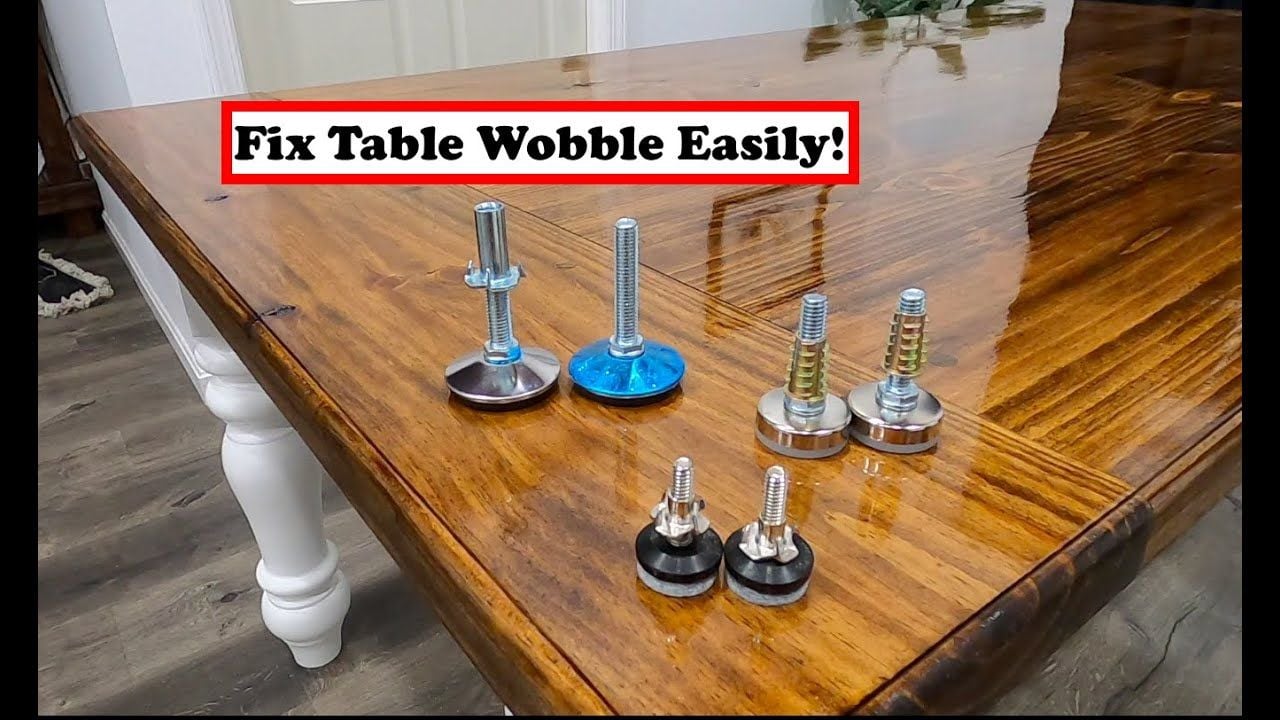
Set the new foot and test it in the room
Start the replacement by hand with the table safely supported. If the stem meets resistance at the start, stop and confirm the thread and the condition of the socket. Set the feet near their starting positions, return the table to the floor, and adjust the foot above the gap in small increments. Press gently near alternate corners after each adjustment. If the table has a lock nut, follow the maker’s instructions for securing it, then test the corners again. Check the top with a small level in both directions if horizontal alignment matters for how you use the table.
Keep a photo of the original foot and note the thread, stem length, pad size and range that worked. If the table moves to a new spot, check it again there. You can call the repair finished when all the feet sit flat, gentle pressure at any corner leaves the base steady, and the adjusted foot stays within the maker’s limits.