When a wooden dresser drawer sticks, clear the contents and note where the resistance begins. A stop halfway in, a scrape during the last inch, and drag along the full travel give you different places to look. A quick inspection can tell you whether to remove a trapped object, watch for a humidity pattern, or ask a furniture repairer to examine a damaged part. This guide is for dressers with wood-on-wood drawer supports. If you see metal hardware, identify the installed system before making adjustments.
In this guide
Start with the drawer empty
Keep the dresser on a stable surface and leave its wall restraint attached. Open one drawer at a time. Remove clothes, organizers, and loose items from the problem drawer, then look above the back and sides with a flashlight. A sock that has slipped over the back can wedge between the drawer and the case. A tall organizer or a pile of folded clothes can catch the underside of the opening. Either problem can feel like a tight drawer until you run the same test with it empty.
Pull from the center of the drawer front, or use both pulls together if it has two. If the drawer moves more easily when pulled evenly, look for side-to-side play or a guide that allows the box to skew. Use only light pressure. A drawer that remains jammed needs inspection from an accessible angle or help from a repairer. Forcing a stuck drawer can damage its pull or front.
Locate the rub along the drawer’s travel
Push the empty drawer slowly until you first feel resistance. Pause there and look at the gaps above and beside the front. Then pull it back out gently and repeat. Record whether the stop happens at the same depth each time. An obstruction or a fastener standing proud of the runner can cause repeatable resistance at one point. A rub that runs along a side may leave a longer shiny streak. A front that catches only as it closes calls for a look at the opening and the edges of the front.
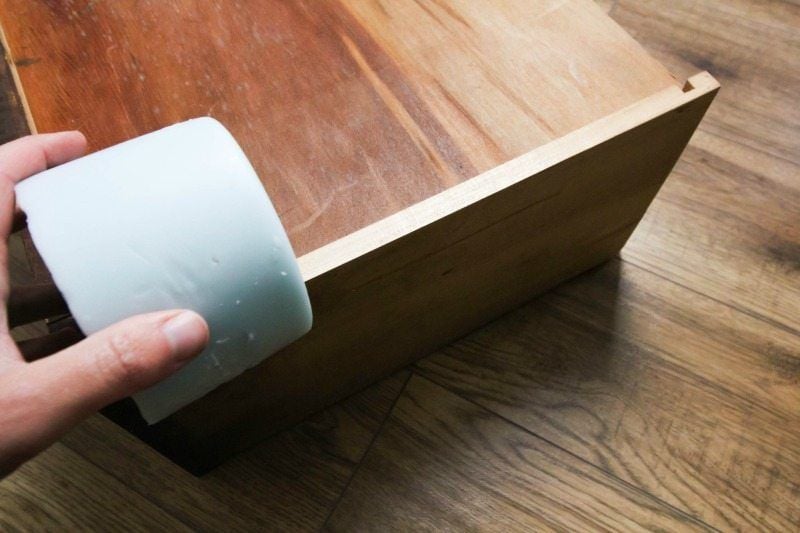
If the maker provides instructions for drawer removal and you can lift the empty drawer safely, set it on a padded surface. Some dressers have drawer stops or a release mechanism. Leave these parts intact. Look underneath the drawer box and inside the empty opening for the parts that actually support and guide it. A top edge with fresh scuffing, a groove in the lower side, and a polished streak along the runner each locate a different contact point. Match a mark on the drawer to a mark inside the case before drawing a conclusion.
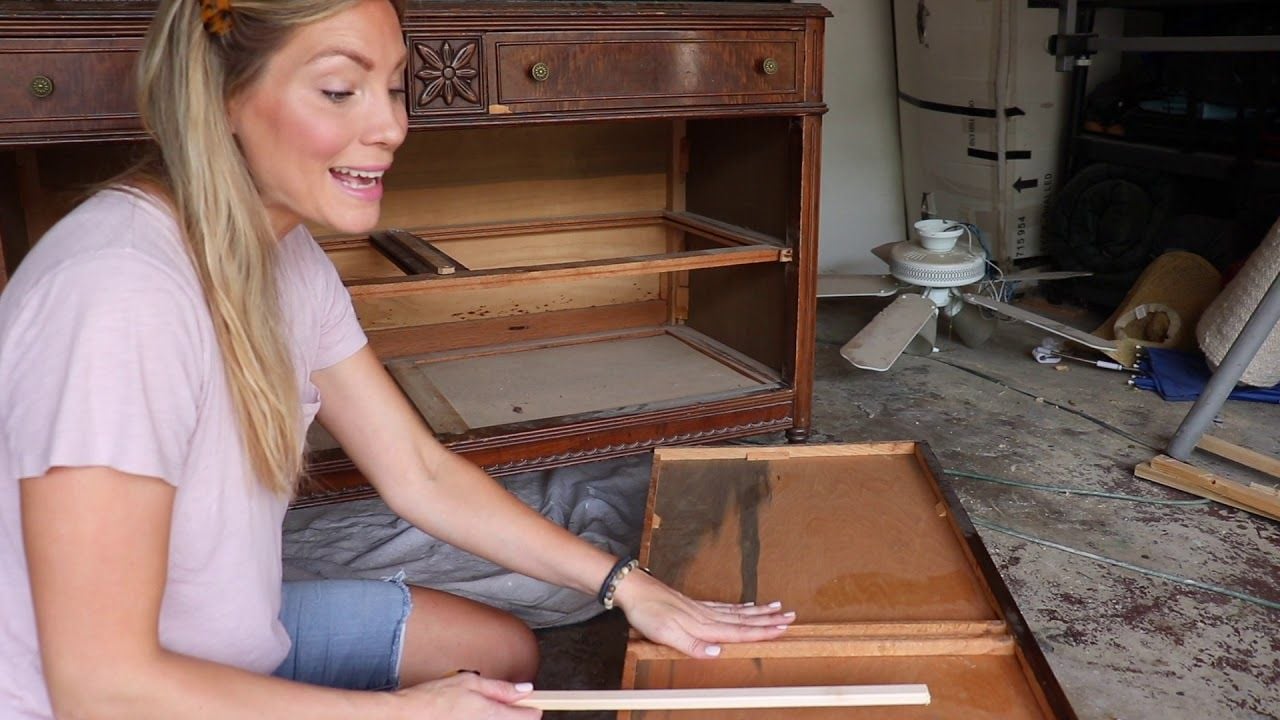
Compare the gaps and check the runner
Use a ruler or tape measure to record the gaps you can reach and photograph the drawer front straight on. Compare left and right, then look at a nearby drawer on the same dresser. A single low corner and a worn runner on that side are worth inspecting together. If every drawer front shows a new uneven gap after the dresser has been moved, also check where the feet sit. An uneven floor or a case that shifts under light pressure can affect several openings. Keep the wall restraint in place while you check the support, and follow the furniture maker’s instructions if the piece needs leveling.
With the drawer out, remove loose lint and debris from the bearing surfaces with a soft, dry brush or cloth. Look for a split runner, a loose joint, a bowed drawer bottom, or an exposed screw head. Take a close photo of anything that moves or looks damaged. Oil, extra screws, and thicker guides can complicate the diagnosis. A clear view of both mating surfaces gives a repairer a better starting point.
Track seasonal changes before removing wood
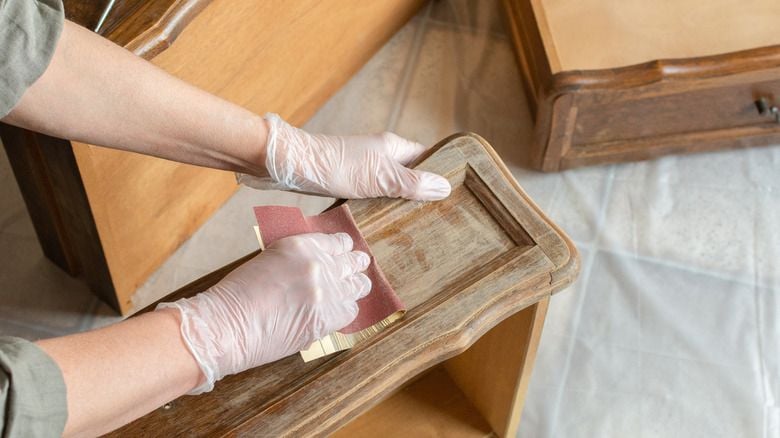
Solid wood responds to changes in humidity, which can change the clearance at a drawer front or side. Stickley describes this movement and says it builds room for it into its furniture designs. Conditions can differ between a heated bedroom, a damp room, and an air-conditioned space. Record the conditions where the dresser actually sits. Stickley’s furniture FAQ
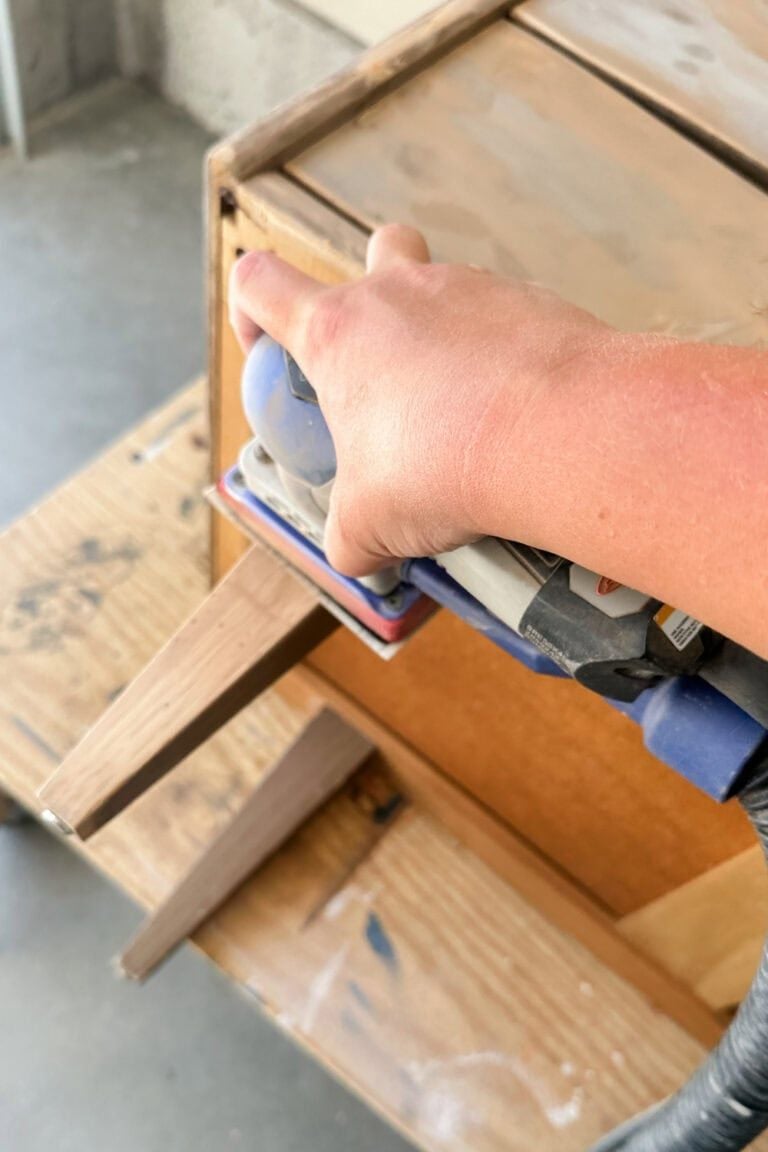
For example, suppose two drawers start dragging along most of their travel during damp weather, with no new marks or loose parts. Note the date and record the room’s relative humidity if you have a hygrometer. Try the empty drawers again after the room has returned to its usual conditions. Repeated changes alongside room humidity build a case for wood movement. A scrape at the same depth through several different humidity readings gives you reason to look again for a physical obstruction. Leave sanding and planing until you can identify what touches and why.
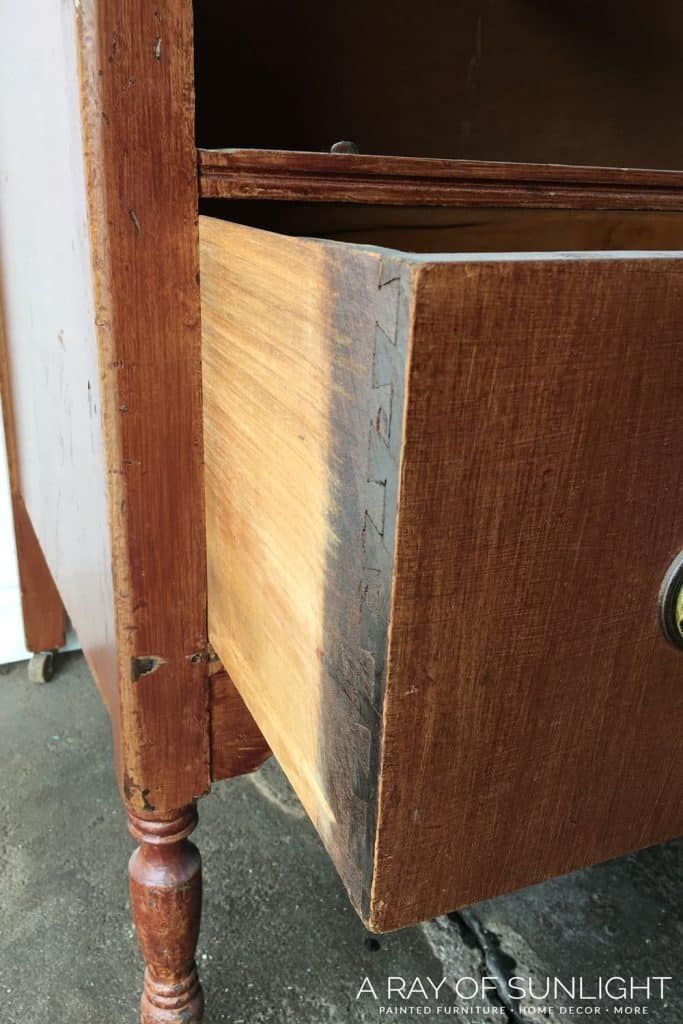
Choose the next step from what you found
If clearing an obstruction brings back smooth travel, return the contents gradually and check whether a high stack catches again. If the bare runner and drawer are sound and the maker recommends a particular treatment for that surface, use its instructions. If you find a split, a loose joint, or a drawer that drops at the front, stop using that drawer until the piece can be assessed. A metal slide that proves to be the source of the problem calls for a hardware identification check. Guide to identifying drawer slides
Finish by opening and closing the empty drawer with an even pull and watching the gaps through the full travel. If it still sticks, keep a photo of the contact point, the depth at which it catches, and a note on whether the trouble changes with humidity or load. Those observations are enough to describe the fault clearly when you ask for repair advice.